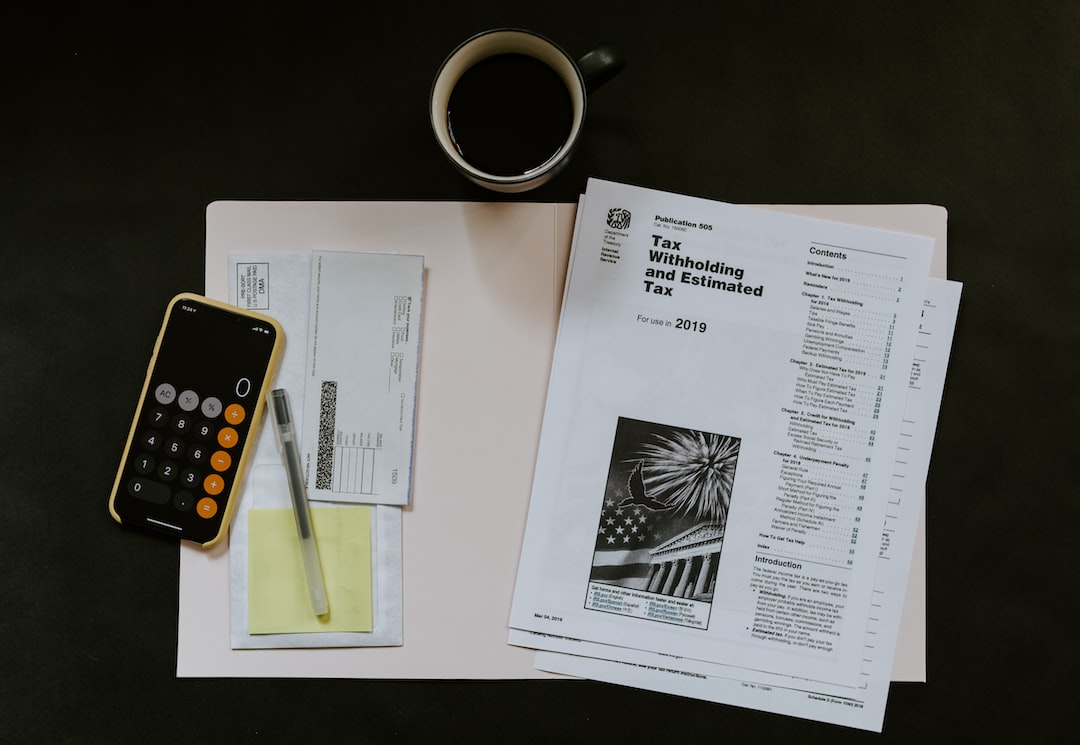
It’s that time of the year again – tax season. If you’re like most people, you probably dread the thought of organizing your receipts. But don’t worry, we’ve got you covered. In this post, we’ll show you how to organize your receipts for tax season.
Step 1: Gather Your Receipts
The first step in organizing your receipts is to gather them all in one place. This includes receipts for purchases you made throughout the year, as well as any receipts for charitable donations or business expenses. Make sure you have all the receipts you need before you start organizing them.
Step 2: Sort Your Receipts
Once you have all your receipts, it’s time to sort them. You can sort them by date, category, or any other method that works for you. Sorting your receipts will make it easier to find them when you need them.
Tip:
Use a separate envelope or folder for each category. For example, you could have one envelope for receipts related to your home, another for receipts related to your business, and so on.
Step 3: Record Your Receipts
After you’ve sorted your receipts, it’s time to record them. You can do this manually by writing down the details of each receipt in a notebook or spreadsheet, or you can use an app to do it for you. There are many apps available that can help you track your expenses and receipts.
Tip:
Make sure you record all the necessary information, such as the date, amount, and purpose of the expense. This will make it easier to file your taxes and claim deductions.
Step 4: Store Your Receipts
Now that you’ve sorted and recorded your receipts, it’s time to store them. Make sure you store them in a safe and organized way. You don’t want to lose any receipts, as they could be important for filing your taxes.
Tip:
Consider using a digital storage system, such as Dropbox or Google Drive, to store your receipts. This will ensure that they are safe and easily accessible whenever you need them.
Step 5: Review Your Receipts
Before you file your taxes, it’s a good idea to review your receipts. Make sure you have all the necessary receipts and that they are accurate and complete. This will help you avoid any problems with the IRS.
Tip:
If you’re not sure whether a receipt is necessary, keep it anyway. It’s better to have too many receipts than not enough.
Step 6: File Your Receipts
Now that you’ve organized your receipts, it’s time to file them. You can file them electronically or in paper form, depending on your preference. Just make sure you keep them in a safe and organized place.
Tip:
Consider using a filing system that is easy to use and maintain. You don’t want to spend hours searching for a receipt when you need it.
Conclusion
Organizing your receipts for tax season may seem like a daunting task, but it doesn’t have to be. By following these simple steps, you can make the process easier and less stressful. Remember to gather your receipts, sort them, record them, store them, review them, and file them. With a little effort and organization, you’ll be ready for tax season in no time.
